Patio Construction Timeline: A Comprehensive Guide
Building a patio can be an exciting and rewarding project that can transform your outdoor space into a beautiful and functional area. However, it’s important to plan carefully and follow a realistic timeline to ensure a successful outcome. Here is a comprehensive guide to help you understand the typical patio construction timeline:
Planning and Design (2-4 weeks)
1. Site Evaluation and Planning:
- Assess the available space, determine the desired size and shape of the patio, and consider the drainage and slope of the area.
2. Material Selection:
- Choose the materials for the patio surface, such as pavers, concrete, or natural stone, based on your budget, style preferences, and durability requirements.
3. Design and Layout:
- Create a detailed design plan for the patio, including the shape, size, and layout of any features such as seating areas, fire pits, or built-in planters.
Excavation and Base Preparation (1-2 weeks)
4. Excavation:
- Excavate the area where the patio will be built to the required depth, typically 6-12 inches below the desired finished surface.
5. Base Material:
- Install a layer of compacted gravel or crushed stone as the base material to provide stability and drainage for the patio.
6. Edging and Restraints:
- Install edging materials, such as paver restraints or concrete curbs, around the perimeter of the patio to contain the base material and prevent shifting.
Patio Surface Installation (1-3 weeks)
7. Patio Surface Preparation:
- Level and compact the base material to create a smooth and stable surface for the patio tiles or pavers.
8. Tile or Paver Installation:
- Lay the patio tiles or pavers according to the design plan, ensuring proper spacing and alignment.
9. Grouting and Sealing:
- Fill the joints between the tiles or pavers with grout and seal the surface to protect it from moisture and staining.
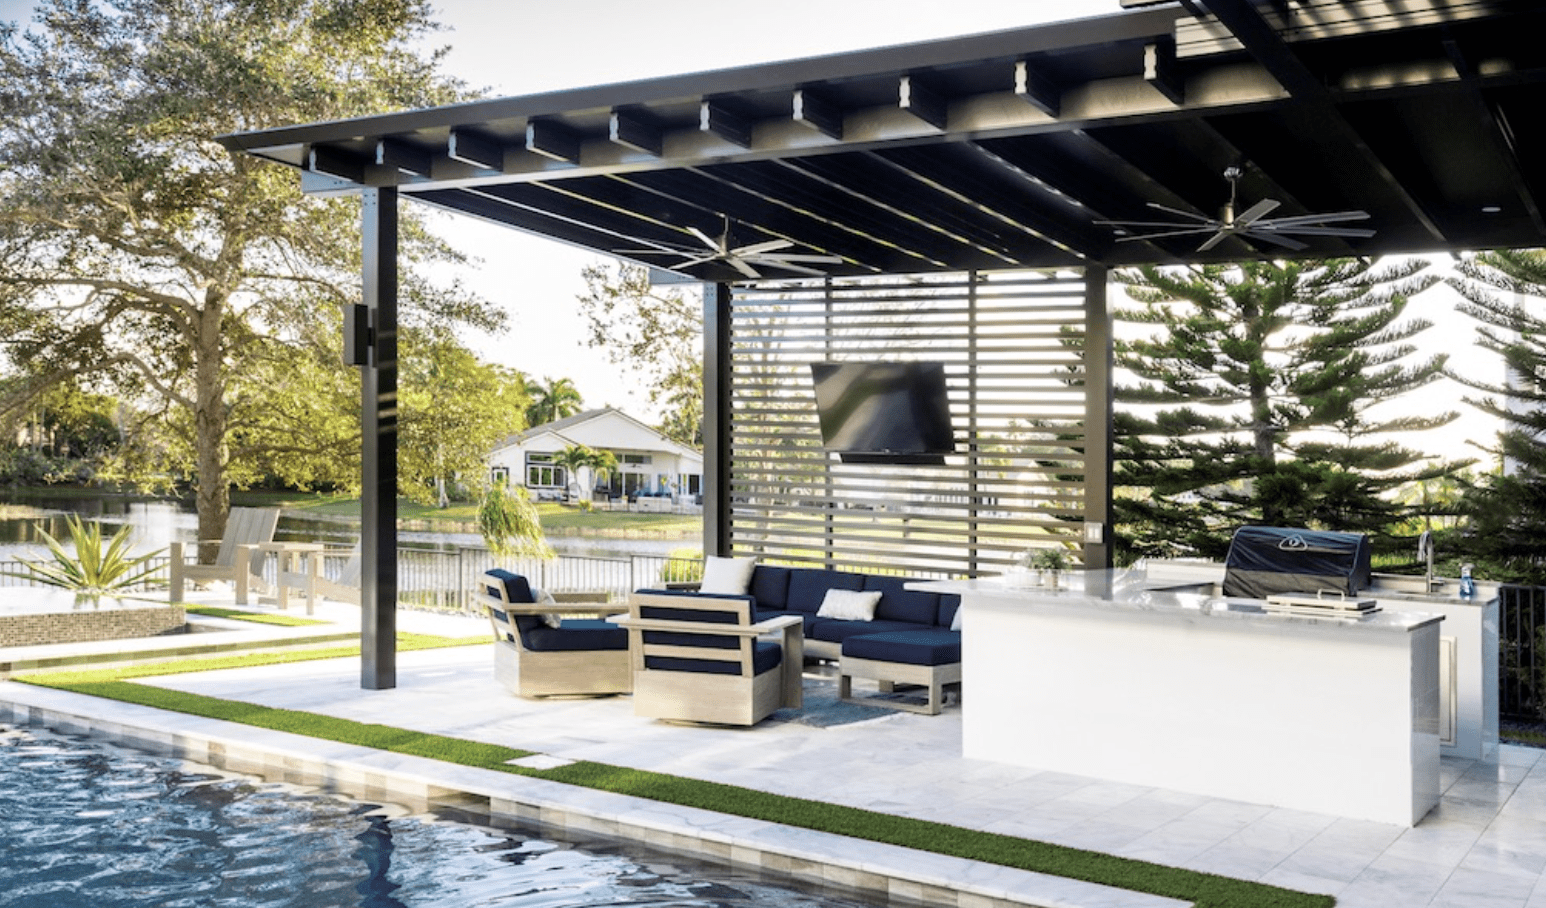
Features and Finishes (1-2 weeks)
10. Seating Areas:
- Build or install seating areas, such as benches, chairs, or a fire pit, to enhance the functionality and comfort of the patio.
11. Lighting:
- Install outdoor lighting fixtures, such as path lights or recessed lights, to illuminate the patio and create a welcoming ambiance.
12. Landscaping:
- Plant trees, shrubs, or flowers around the patio to add visual interest and create a cohesive outdoor space.
Final Touches and Enjoyment (1-2 weeks)
13. Cleaning and Inspection:
- Thoroughly clean the patio surface and inspect it for any imperfections or damage.
14. Furniture and Accessories:
- Add furniture, cushions, and other accessories to create a comfortable and inviting outdoor living area.
15. Enjoyment:
- Relax and enjoy your newly constructed patio, which will provide years of outdoor enjoyment and entertainment.
Additional Considerations
16. Permits and Inspections:
- Check with your local building department to determine if any permits or inspections are required for patio construction.
17. Weather Conditions:
- Be aware of weather conditions and plan accordingly. Heavy rain or extreme heat can delay construction or affect the quality of the finished product.
18. DIY vs. Professional Installation:
- Decide whether to tackle the patio construction yourself or hire a professional contractor. Consider your skills, time constraints, and budget.
19. Maintenance and Upkeep:
- Establish a regular maintenance schedule to keep your patio looking its best. This may include cleaning, sealing, and repairing any damage as needed.
20. Enjoyment and Value:
- A well-constructed patio can significantly enhance the value and enjoyment of your home. It provides a beautiful and functional outdoor space that can be used for relaxation, entertaining, and creating lasting memories.